How to securely upload your image files to Cloud Storage using NodeJS.
If you have worked on a web application, you might have encountered the problem of image or video file uploads. My preferred way of doing this is to upload the files to a cloud storage platform and save the URL to the Database. Most people prefer to handle such uploads from the browser. The problem with this method is that the cloud API credentials gets bundled inside the JS files and thus made public via the browser. To save the API credentials from cheeky users, we need to take a different approach.

This post/tutorial is about how you can securely handle images and video files using NodeJS and a cloud storage technology like Cloudinary.
To achieve this, we need to store the cloud API details in a NodeJS server (away from the browser). We also need to create the cloud upload mechanism there. This creates a problem, which is that we need to send the image or video to the NodeJS server first before we can be able to upload it to the cloud. To achieve this we need to transport the image as binary data to the server, and then transform it to something that the cloud server expects so that the upload can happen successfully. To secure our server’s API endpoint that we need to use CORS whitelist.
Let me dive right into it.
Create an account with Cloudinary or other Cloud Storage platform of your choice.
This is the first step. You will get an API_KEY and some other account details that will enable you to upload your files to your cloud account.

Create a Node/Express Server to handle your image upload to Cloudinary.
Step 1:
Run npm init to initialise the package.json file for you.
Step 2:
For this app we will be needing express, dotenv, multer, cloudinary, cors, and datauri packages from npm. Let’s install them now. I will explain what they do later.
Run npm install -S express dotenv multer datauri cloudinary cors to install the dependencies.
Step 3:
Create an index.js file and initialise it with some code like below
Run node index.js to ensure that everything works correctly. You should see: Express server is running on 5000 on your console.
Step 4:
Setup your endpoint to use multer for handling your file payload. (You can read more about multer here)
- First require multer in the index.js file by doing
const multer = require('multer');const upload = multer();- Add multer as a middleware to the
/cloud-uploadroute like this
app.post(‘/cloud-upload’, upload.single(‘file’), (request, response) => {}
This is what the index.js file will look like at this point:
Step 5:
Restrict access to the endpoint using CORS.
Part of the reasons we are taking this long approach is that we want to secure our Cloudinary account from unauthourised access. Having a NodeJS server only protects our account details. We need to also protect our upload endpoint as well otherwise anybody that knows the endpoint can upload stuff to our Cloudinary account. To do that we’re going to use the good old CORS.
- First, require cors in the
index.jsfile by doing const cors = require('cors');- Setup CORS whitelist to allow access to only your UI server
- Add the setup as a middleware to your
/cloud-uploadroute
Your index.js file should look like this at this point:
Step 6:
Handling the request data in binary using the datauri package.
- First require
datauriandpathin theindex.jsfile. - Instantiate datauri;
const dataUri = new DataUri(); - Setup the
dataUrito transform our image data in buffer format to a readable url format that Cloudinary can understand.
At this point, the index.js file should look like this(pay attention to the API endpoint):
Step 7:
Add the Cloudinary NodeJS setup. View the npm docs or the cloudinary Node SDK docs
- Add your cloud credentials to a
.envfile on the same level as theindex.js - Require
dotenv - Do
dotenv.config();to setupdotenv
My setup looks like this at this point:
Run node index.js to ensure that everything works correctly.
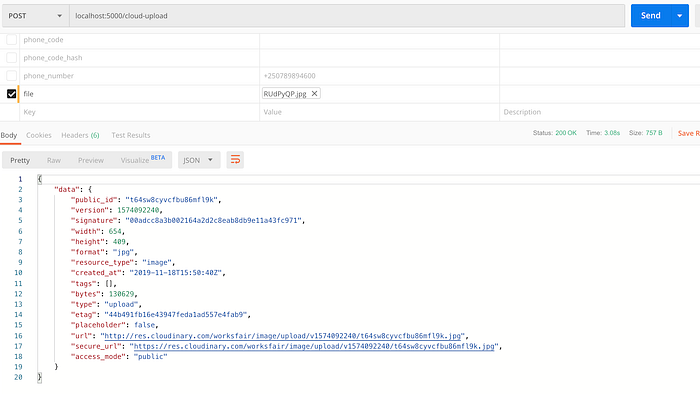
At this point you can test out the endpoint using POSTMAN (you might need to remove the CORS restriction to be able to test).
Setup your web app to use this endpoint for uploads
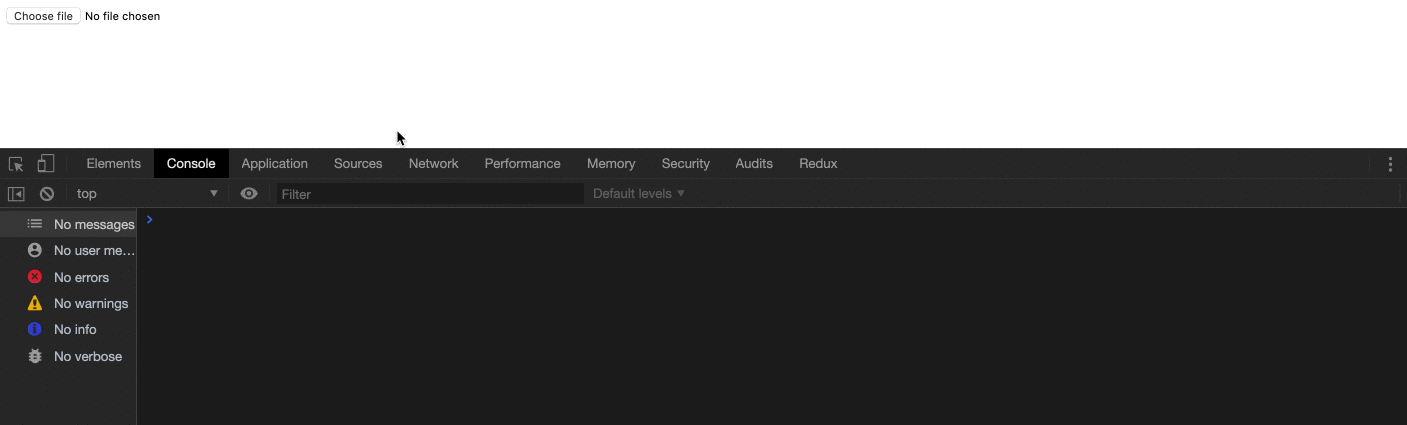
My setup in the browser is very simplistic. I am using axios from the CDN. It looks like this:
Below is .gif file of the setup working.
That’s it!
A Recap on What We have Covered
- Create an account with Cloudinary or other Cloud Storage platform of your choice and obtain the Account credentials required.
- Create Node/Express Server to handle your image upload to Cloudinary. Add
multerto the file in your payload; adddataurito convert the buffer object from your payload to a format that Cloudinary can read; add CORS to restrict access to your endpoint to only apps that your want; - Setup your web app to use your upload API endpoint.
Here is the link to the repo containing the assets that I used in this tutorial. Feel free to use it.
Thanks for reading!